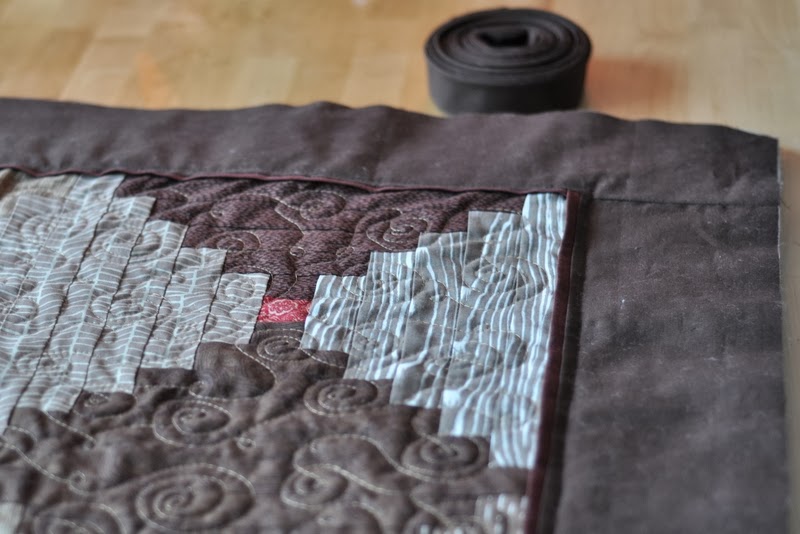
January is my month in our Euro Siblings Together bee and the block I thought of is this:
Sincere apologies to my fellow Bees for me doing everything a bit backwards, not showing you any instructions. Let me amend that now.
The final result is a block 16.5" square but unless you make just one tree, as in the bottom right picture, you are very welcome to leave the two 8.5" x 16.5" rectangles separate, especially if you're using different background for each.
There are not too many measurements, you just need to remember that the trees need to be smaller than 8.5" x 16.5". Also, I think that that they might be a bit too small if they are less than 3.5" high.
Taking into consideration the above, cut a triangle.
Take a piece of fabric you want to use for the background. It's enough if it's as high as the triangle, but of course you can also use a bigger piece. Place the triangle on the background.
Cut the background fabric along one side of the triangle tree.
Sew the tree to the background, remembering to offset the fabric at the bottom of the pieces, so that when you open the seam, the bottom lines of both pieces will be aligned.
Press open, trim the top along the other side of the triangle tree.
 |
| (it looks like I'm showing the left-handed view here) |
Place on the background fabric once again and cut along the free side of the tree.
Sew the other piece of background to the tree, remembering to offset the fabric so:
Press open.
Add rectangles of background where necessary (e.g. to the top and bottom as in the blue background block, or to the bottom, as in the white background block, or, if your tree is not wide enough, to the side(s) as well) to bring the block to 8.5"x16.5".
Hope all these photos don't make the block look complicated, because it really isn't.
Anyway please let me know if you have any questions.